LC Relay I
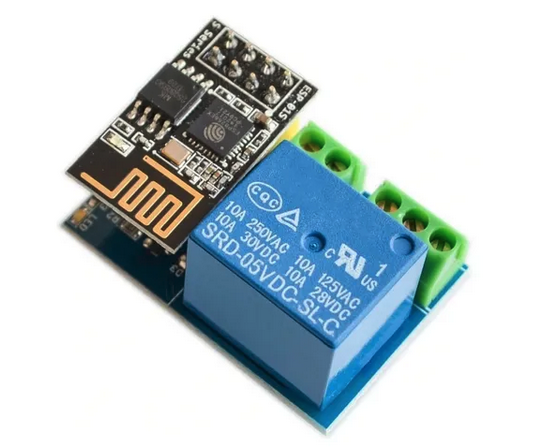
Set module to Generic (18) (in module configuration and click save) Set D3 GPIO0 as Relay1 (21) (in module configuration and click save) Disable SerialLog (type seriallog 0 in the Tasmota console) Add the following rules typing in the console:
Rule1
 on System#Boot do Backlog Baudrate 9600; SerialSend5 0 endon
 on Power1#State=1 do SerialSend5 A00101A2 endon
 on Power1#State=0 do SerialSend5 A00100A1 endon
Enable the rule (type rule1 1 in the Tasmota console) Note: If you use LC Technology v1.2 and this rule does not work, try to use 115200 baudrate Note: If that doesn’t work for you, you may find that using Power1#Boot as the event to trigger the baud rate setting (instead of System#Boot) works, as it did for me. So the alternate rule is:
on Power1#Boot do Backlog Baudrate 9600; SerialSend5 0 endon
on Power1#State=1 do SerialSend5 A00101A2 endon
on Power1#State=0 do SerialSend5 A00100A1 endon
LC Relay II
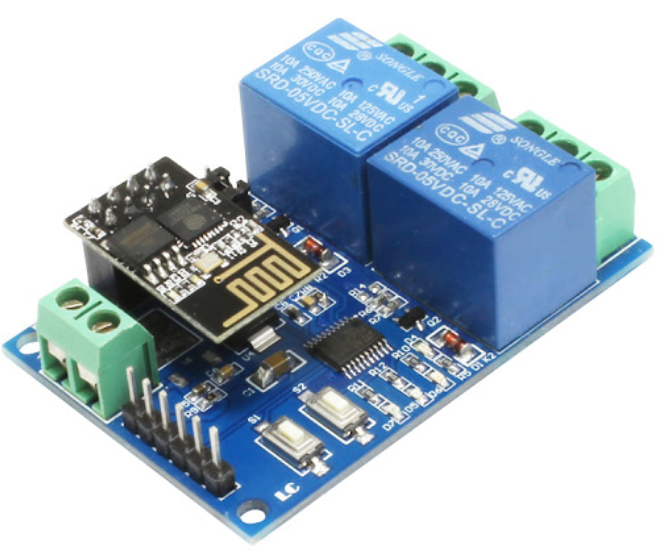
To configure an LC Technology ESP8266 Relay X2, use the following settings…
- Set module to Generic (in module configuration and click save)
- Set GPIO0 and GPIO2 as Relay1 and Relay 2 (in module configuration and click save)
- Disable SerialLog (type
seriallog 0in the Tasmota console) - Add the following rules typing in the Tasmota console:
Rule1
 on System#Boot do Backlog Baudrate 9600; SerialSend5 0 endon
 on Power1#State=1 do SerialSend5 A00101A2 endon
 on Power1#State=0 do SerialSend5 A00100A1 endon
 on Power2#State=1 do SerialSend5 A00201A3 endon
 on Power2#State=0 do SerialSend5 A00200A2 endon
Enable the rule (type rule1 1 in the Tasmota console)
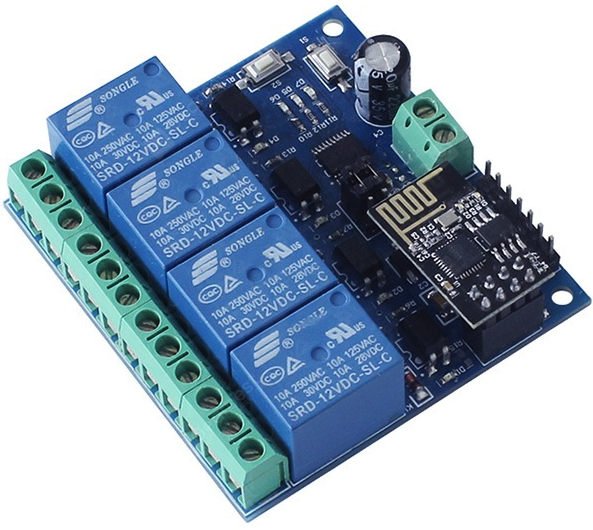
LC Relay IV